Frontpage Settings
In the Frontpage Settings, you can customize the appearance of your website by uploading specific images for the header, footer and background. And specify the description that will appear. This guide will walk you through the steps to upload and manage these images.
Upload the header, footer and background
Upload an Image:

- Drag and Drop: Drag your desired image from your computer and drop it into the designated upload area for either the header, footer or background.
- Choose from Hard Disk: Click the Browse button next to the header, footer or background image section. A file explorer window will open. Navigate to the image you want to upload and select it. Click Open to upload the image.
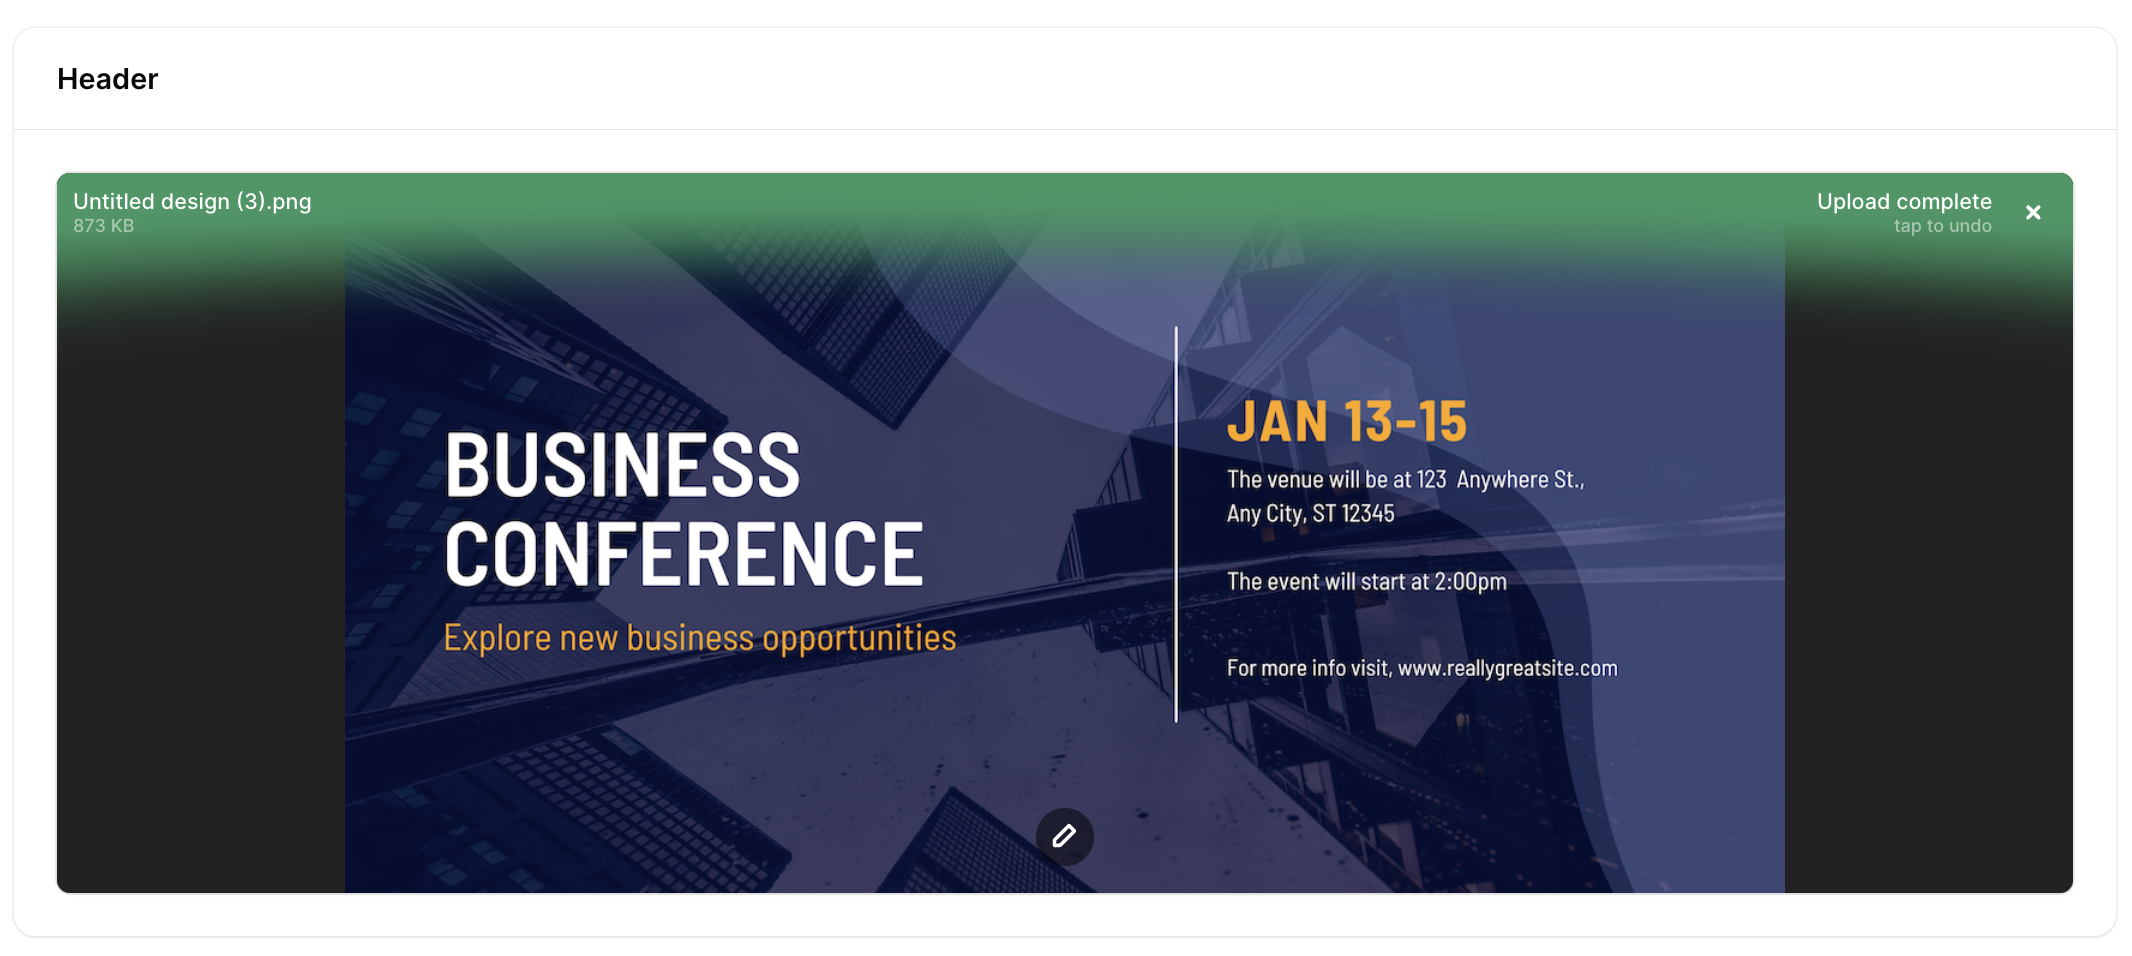
Once the upload is complete, a preview of the image will be displayed.
Customizing the Uploaded Image
- Access Customization Options:
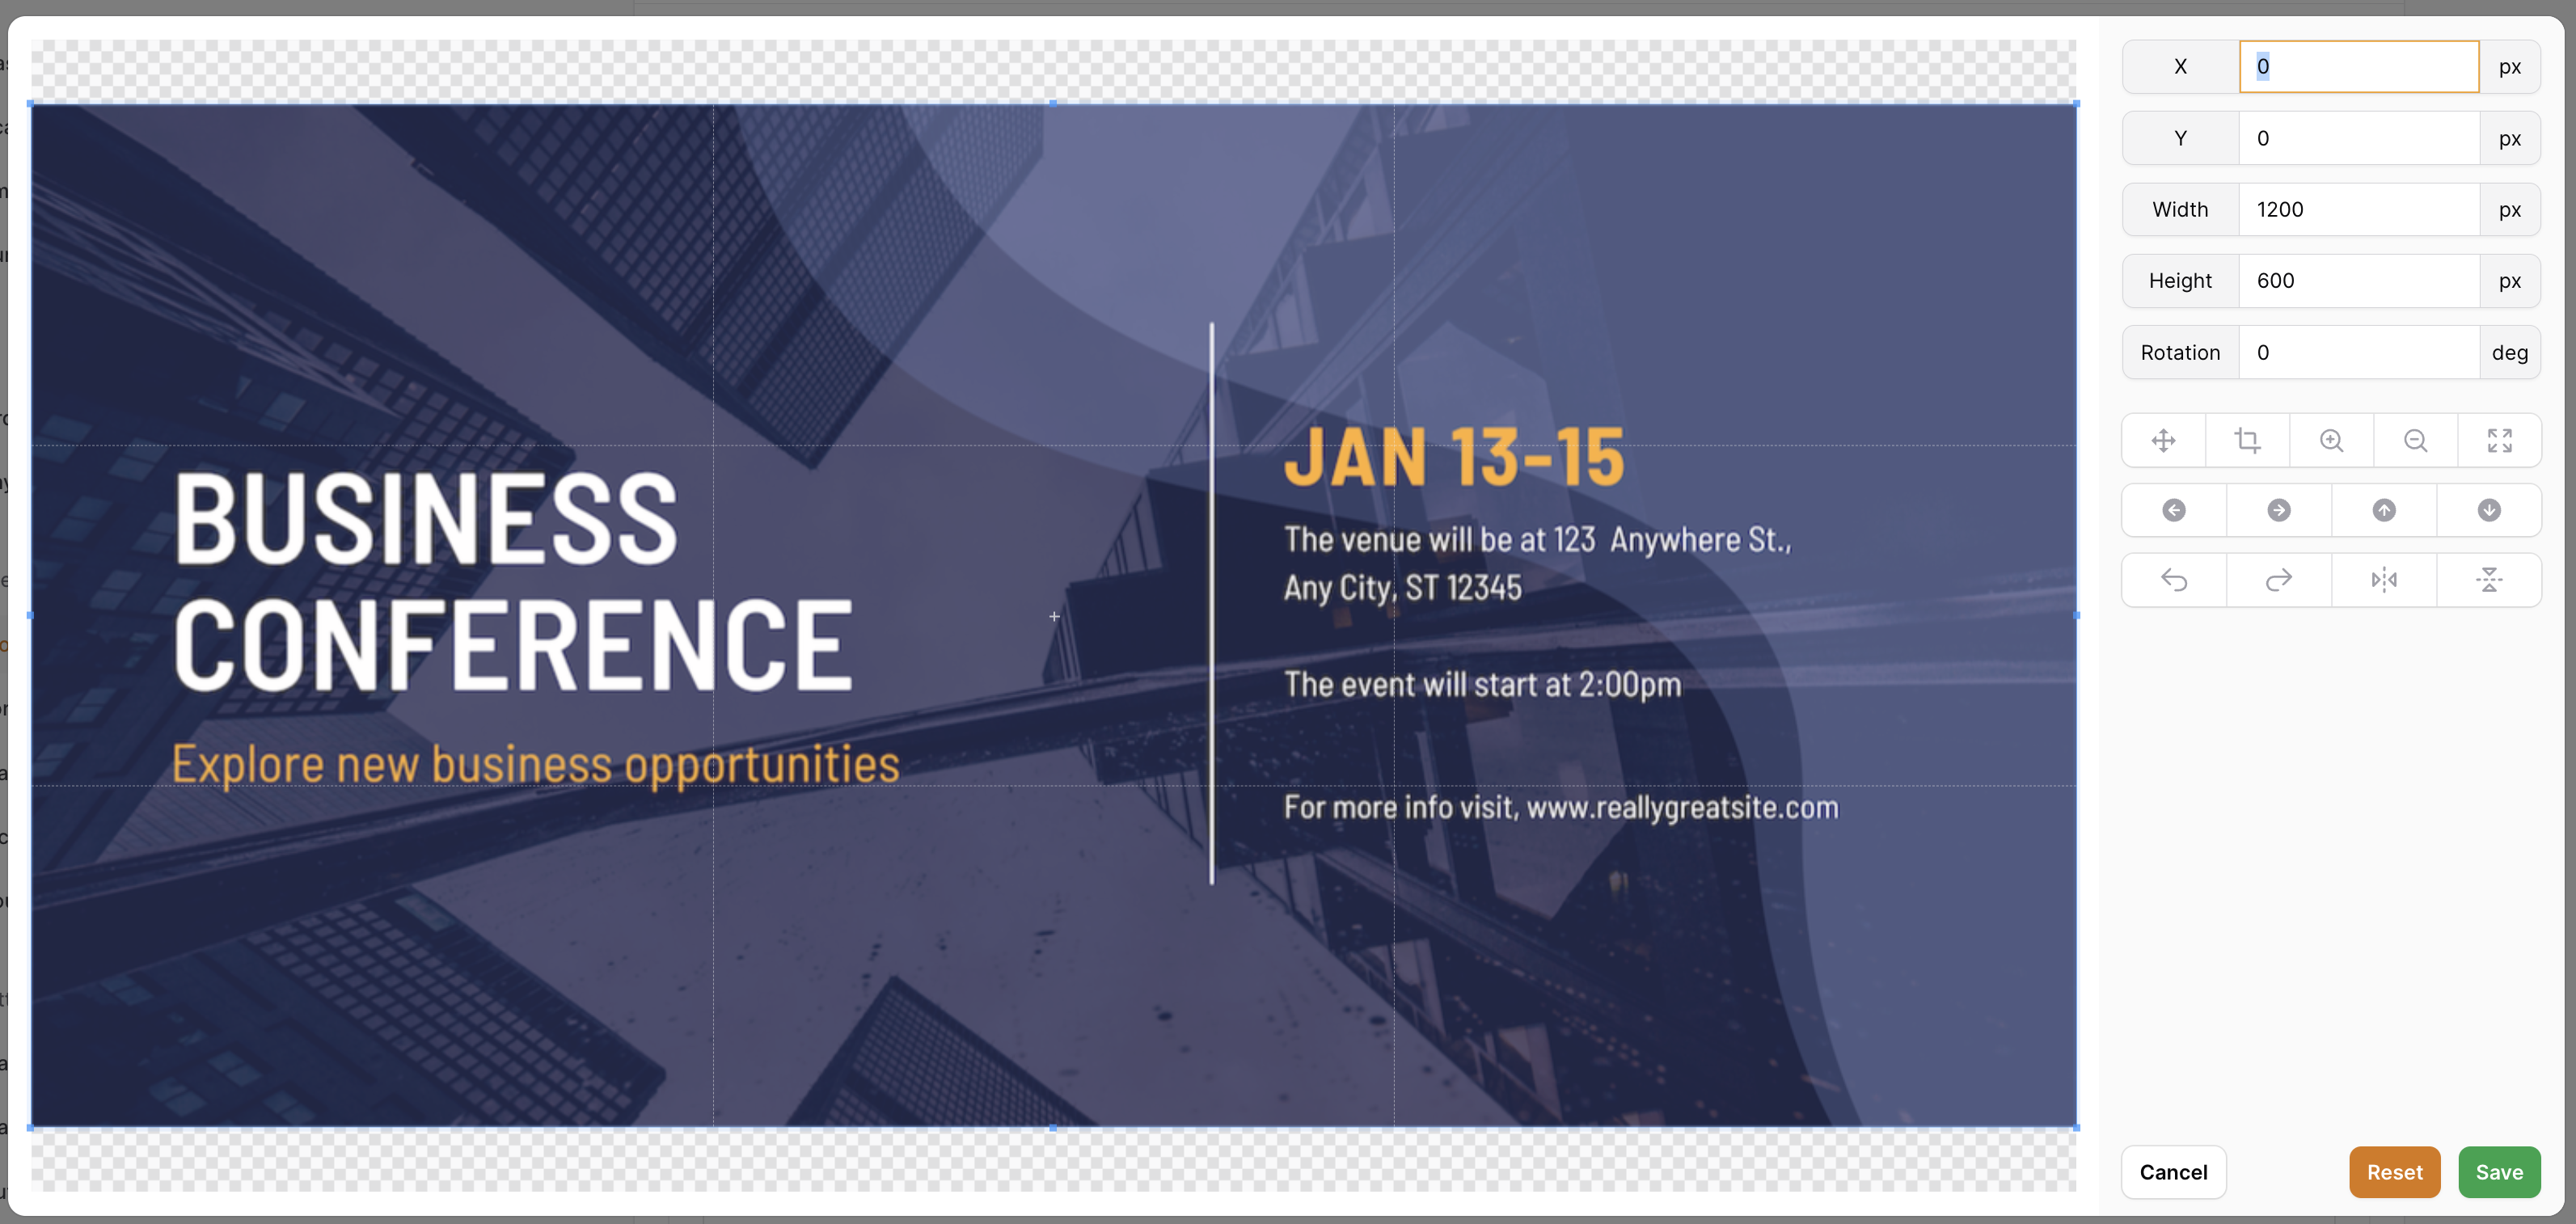
- After the image is uploaded, you will see options to further customize it by clicking on the little pen.
- Customization Options:
- Resize: Adjust the dimensions of the image to fit your needs.
- Crop: Select a portion of the image to display.
- Adjust Position: Move the image to the desired position within the header or footer area.
Tips for Choosing Images
- Resolution: Ensure your images have appropriate resolution for web display. Header and footer images often have specific dimension requirements, which you can find in the settings page.
- Format: Use standard image formats such as JPEG, PNG, or GIF.
- File Size: Optimize your images to reduce loading times without compromising quality.
{primary} Maximum dimension for image is: 2048x2048
Maximum filesize allowed is 20MB
Troubleshooting
- Image Not Displaying: If your image does not appear after uploading, try refreshing the page or clearing your browser cache.
- Incorrect Size or Cropping: Ensure your images meet the recommended dimensions. Use image editing software to resize if necessary.
- Upload Error: If you encounter an error during upload, check your internet connection and ensure the file size does not exceed the upload limit.
Setting Up Frontpage Description in Multiple Languages
-
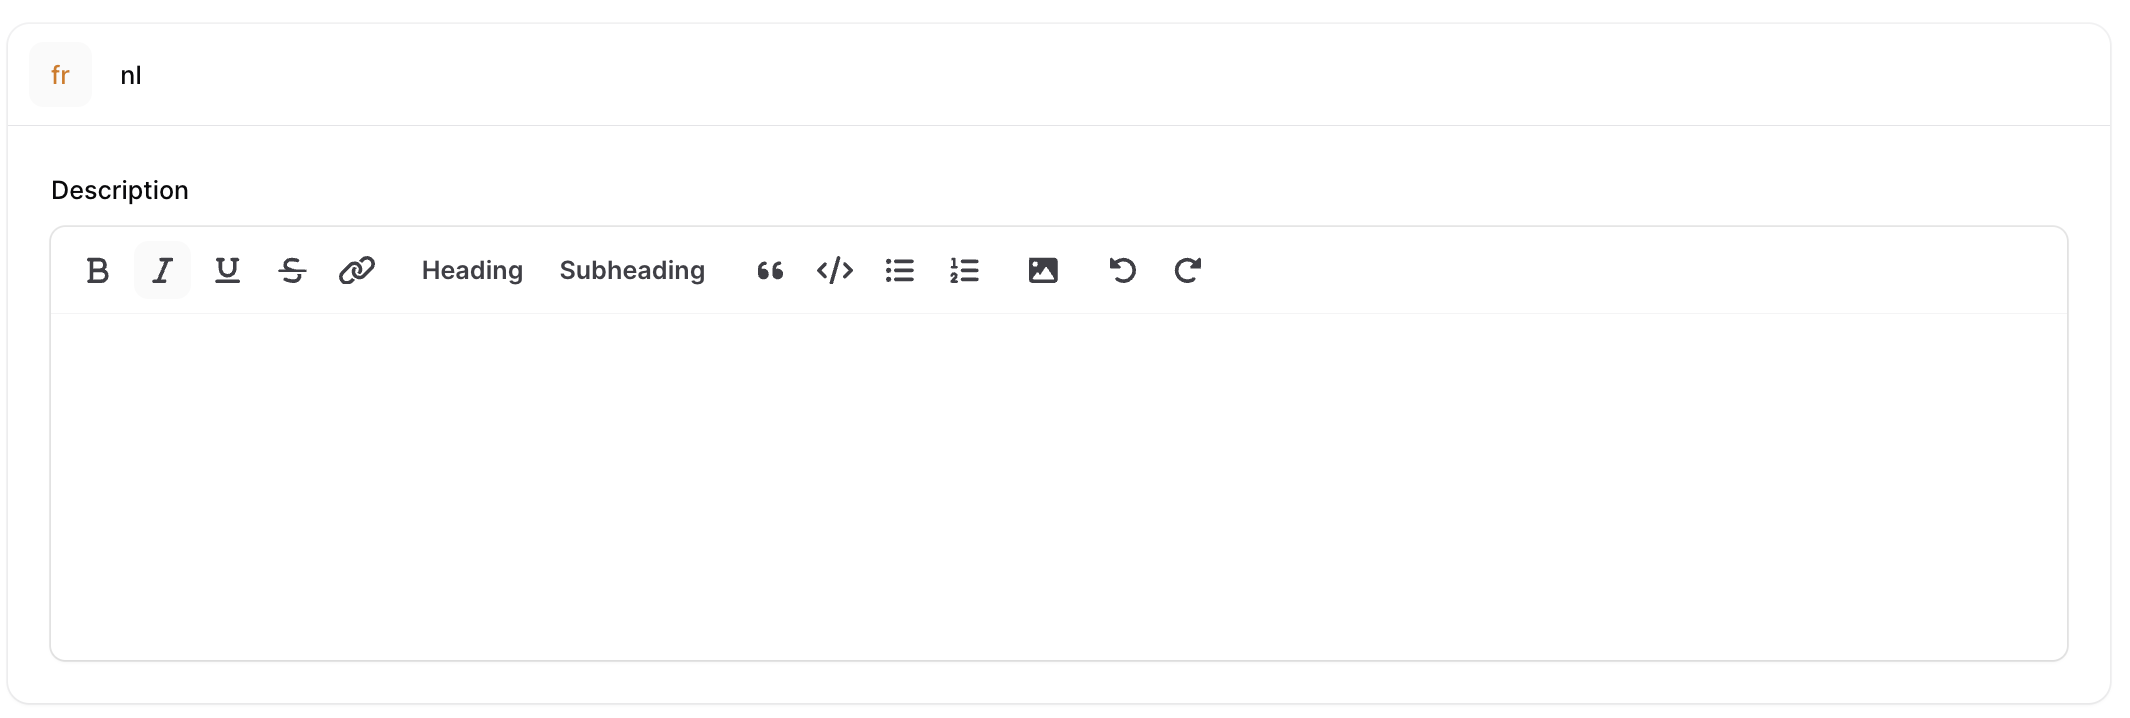
Access Description Settings: In the Frontpage Settings, locate the section labeled Description.
-
Select Language: Choose the language you want to add a description for from the available language options.
-
Enter Description: Enter the description text that you want to display on the frontpage in the selected language.
-
Repeat for Other Languages: Repeat steps 2 and 3 for each additional language you want to support.
Advanced settings
Introduction
In the Advanced Settings, you can customize your website by setting up the page title, URL slug, and custom domains. Additionally, for custom domains, you can specify the language so that the page will automatically be translated when you navigate to that custom domain.
You can open the Advanced Settings by clicking on the Configuration button
Customizing Page Title
-
Set Up Page Title:
- In the Advanced Settings page, locate the section labeled Page Title.
- Enter the desired title for your page in the provided text field.
-
Save Changes:
- Click Save Changes to apply the new page title to your website.
Customizing URL Slug
-
Locate URL Slug Section:
- In the Advanced Settings page, find the section labeled URL Slug.
-
Set Up URL Slug:
- Enter a user-friendly URL slug that represents your page content. This will be part of your page's URL.
-
Save Changes:
- Click Save Changes to apply the new URL slug to your page.
{warning} Once your event is live, or once emails has been sent, this cannot be changed anymore.
Setting Up Custom Domains
-
Locate Custom Domains Section:
- Scroll to the section labeled Custom Domains in the Advanced Settings page.
-
Add a Custom Domain:
- Click on the Add Custom Domain button.
- Enter the custom domain name you want to use.
-
Specify Language for Custom Domain:
- For each custom domain, you can specify the language. Select the language from the dropdown menu next to the custom domain field.
- When users navigate to this custom domain, the page will automatically be translated to the specified language.
-
Save Changes:
- Click Save Changes to apply the custom domain settings to your website.
{warning} Once your event is live, or once emails has been sent, this cannot be changed anymore.
{primary} Setup your DNS: Set a CNAME-record in your DNS to direct your domain to app2.eventsight.eu.
After your DNS has been setup, please contact us so we can register your domain in our application and register a SSL certificate.
Preview
Finally, click on 'View frontpage' to view your work.